1. General
On the project list, select add. The first step is General.
- Name (required)
- Project description
- Location description
- Start and Deadline
- Currency (required)
The map says: "Please mark the location of your project on this map by left-clicking on your desired location. This is required for creating a project." Next stays unavailable until the name is entered and the map location is set.
2. Project geofence
The next step is Project geofence. Use Draw geofence to outline the area, and Remove geofence to clear it.
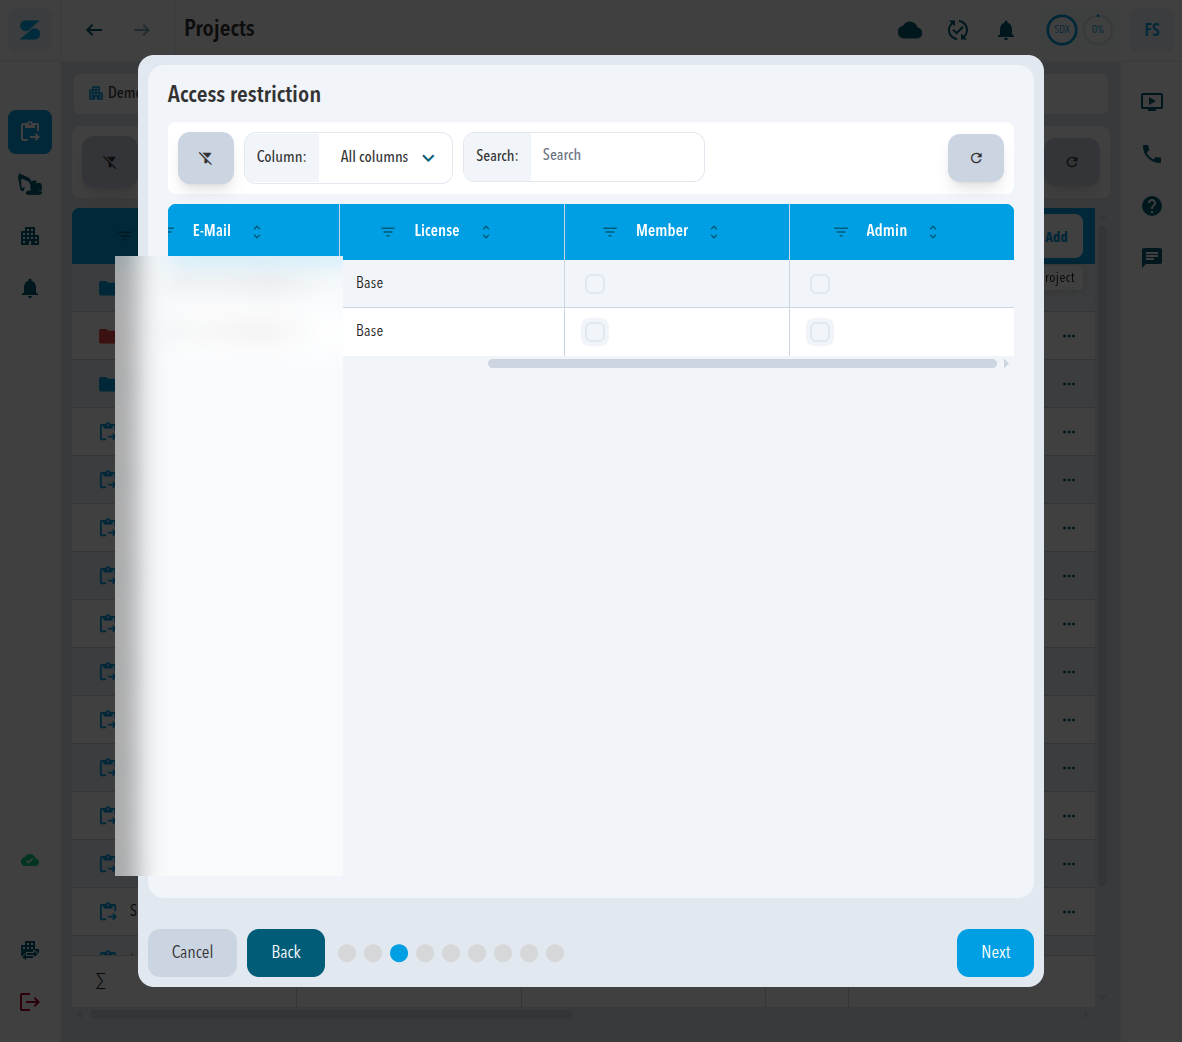
3. Access restriction
The next step is Access restriction. The table columns are First name, Last name, E-Mail, License, Member, and Admin. Member and Admin are checkboxes.
4. System selection
The next step is System selection. The table lists the systems you can assign to this project. The columns are Name, Serial number, Type, License, Smallest possible grid size, and Created at. Use Column and Search to find a system.
5. Grid size
The next step is Grid size. The grid size is the spacing between the elevation values in the point cloud. The smaller the grid size, the higher the resolution of the data.
- 5cm (Base): the default for most projects. It balances resolution and data volume.
- 2cm (Pro): more surface detail and about six times more data than the default.
- 1cm (Unlimited): the highest resolution, with about twenty-five times more data than the default. Use it only when very fine surface detail is critical.
A grid size cannot be selected when the lowest license level of the selected systems does not meet the required tier.
6. Coordinate system
The next step is Coordinate system.
- Coordinate system selection (required). Sodex Preset is the option shown.
- Global datum (required)
- Local datum (required)
- Local coordinate system (required)
- Geoid (required)
Next stays unavailable until those required fields are set.
7. Tags
The Tags step lists tags in a table. The columns are Name, Description, Color, and Actions. Use + in Actions to add a tag. An empty list says No data to display.
8. Processing Settings
The last step is Processing Settings.
- Provider: Processing by Sodex
- Point Cloud Density: High
- Orthophoto Resolution: a value in cm. The screen shows 2 cm.
Select Create project.
These origin values are not in the creation wizard. After the project exists, open Settings and then General. Local origin coordinates show Easting, Northing, and Height. Global origin coordinates show Latitude, Longitude, and Height.
Comments
0 comments
Please sign in to leave a comment.