This article explains how DJI docks and drones work together in SDX-Cloud, including:
- How to assign a drone to a dock
- How automatic processing behaves
- How pins and uploads are handled
- How flatrates and credits are applied per flight dataset
New to Device Management?
Start with:
What you need before you start
-
A drone is added as a device
- With correct name and serial number
- In Organization → Settings → Devices → Drones
-
A DJI dock is added as a device
- In Organization → Settings → Devices → DJI Docks
- Optional but recommended:
- The dock or drone have the correct flatrate assigned, or
- Your organization has enough credits for photogrammetry processing.
Serial numbers and assigned flatrates are hardware-bound and cannot be changed or removed later. Double-check before saving.
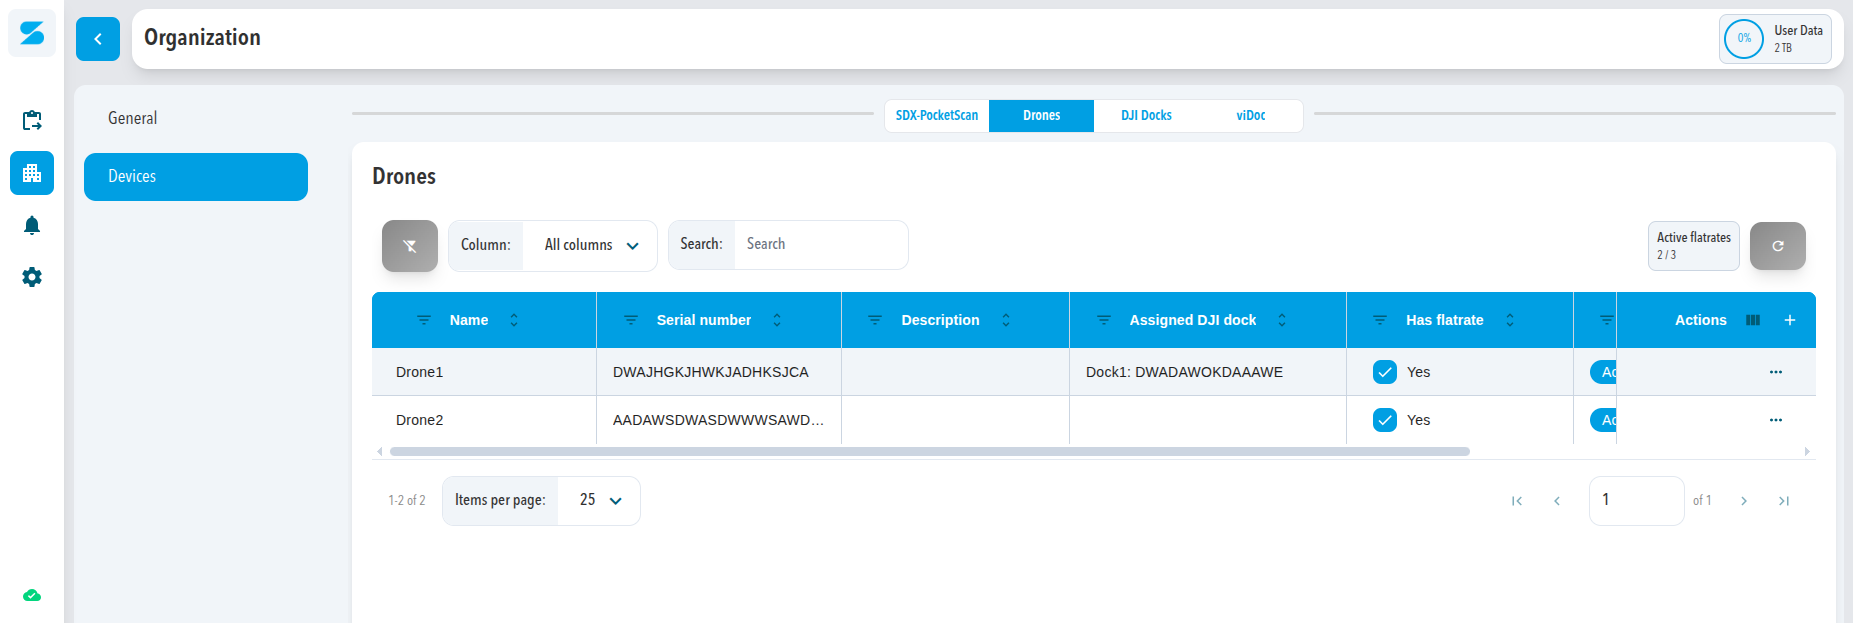
Where to manage DJI docks and drones
- Open the Drones tab to manage drones.
- Open the DJI Docks tab to manage docks and their assigned drone.

Assigning a drone to a DJI dock
Each dock can have exactly one active drone assigned at a time.
1. Assigning a drone when creating a dock
- Click + to add a new dock.
- Fill in:
- Name*
- Serial number: the dock’s serial; double-check before continuing.
- Description (optional)
- In the Active drone dropdown, select the drone that will operate from this dock.
- Configure:
- Active: enable if flights from this dock should be processed automatically.
- Create pins: enable to get automatic pins in the Infomap.
- Has flatrate: enable if the dock has a GP flatrate assigned.
- Click Continue to save.
2. Changing the active drone of a dock
- In the Actions (⋯) menu for the dock, click Edit.
- In Active drone, select a different drone from the list.
- Adjust other settings if needed.
- Click Save.
How uploads and processing work with a dock
- The dock is the component that uploads flight data to SDX-Cloud.
- The flight dataset is associated with:
- The dock device, and
- The active drone assigned to it.
1. Active state
-
Active = On
- Data models uploaded via this dock are processed automatically.
-
Active = Off
- Data models still upload, but are not processed automatically.
- You can process them manually later.
2. Create pins
-
Create pins = On
- SDX-Cloud creates pins in the Infomap based on the datasets uploaded via the dock.
-
Create pins = Off
- Uploads still work, but no pins are created automatically.
This is useful if you want to keep the map clean during testing or when using the dock only for specific datasets.
Flatrates, credits, and GP usage per flight dataset
- Photogrammetry Flatrate: unlimited usage up to the limit of the photogrammetry flatrate (e.g. 20GP).
- Credit-based photogrammetry: pay per dataset
1. Flatrate options
-
DJI Dock
- Can have a photogrammetry flatrate assigned
- Use credit-based Sodex photogrammetry if no flatrate is assigned.
-
Drone
- Can have a photogrammetry flatrate, or
- Use credit-based Sodex photogrammetry if no flatrate is assigned.
2. Drone and DJI Dock photogrammetry cases
Below are all combinations and which billing option is used.
2.1 Drone and dock have no flatrate
-
Flight via dock (dock upload):
The dataset is processed using photogrammetry credits.
-
Standalone flight (manual upload from drone):
The dataset is also processed using photogrammetry credits.
All processing is credit-based, regardless of whether the dock is used.
2.2 Drone has flatrate, dock has no flatrate
-
Flight via dock (dock upload):
The dataset is processed using photogrammetry credits.
Reason: the dock is the uploader and does not have a flatrate.
-
Standalone flight (manual upload from drone):
The dataset is processed using the drone’s photogrammetry flatrate.
Using the dock consumes credits; using the drone standalone uses the drone flatrate.
2.3 Drone has no flatrate, dock has flatrate
-
Flight via dock (dock upload):
The dataset is processed using the dock’s photogrammetry flatrate.
-
Standalone flight (manual upload from drone):
The dataset is processed using photogrammetry credits.
Flights run through the dock are covered by the dock flatrate; standalone drone flights consume credits.
2.4 Drone and dock both have a flatrate
-
Flight via dock (dock upload):
The dataset is processed using the dock’s photogrammetry flatrate.
-
Standalone flight (manual upload from drone):
The dataset is processed using the drone’s photogrammetry flatrate.
Flatrates do not stack or increase the GP limit per dataset. Credits are not used as long as at least one flatrate is active on the uploading hardware.
Removing or deleting drones and docks
1. Removing a drone from a dock
- Go to Devices → DJI Docks.
- Edit the dock via the Actions (⋯) menu.
- Change Active drone to another drone, or clear the selection.
- Save the changes.
This does not affect existing datasets; it only changes which drone is used going forward.
2. Deleting a drone that was used with a dock
- It has no flatrate assigned.
- Being referenced by a dock does not prevent deletion.
3. Deleting a dock
- It has no flatrate assigned.
If a flatrate is assigned
- The dock cannot be deleted.
- You can disable it by setting Active = Off.
Recommended setups and examples
1. Typical dock deployment
- Dock: Has a GP flatrate
- Drone: Optional flatrate, or uses credits
- Flights triggered through the dock are uploaded and processed automatically (if dock is Active).
Troubleshooting
The drone doesn’t appear in the “Active drone” dropdown.
- Confirm the drone is added in Devices → Drones.
- Check that the serial number is correct.
- Verify you have permission to manage both devices.
Flights from the dock are not being processed.
- Check that the dock is Active in Devices → DJI Docks.
- Confirm that your organization has either:
- A valid flatrate on the dock or drone, or
- Enough processing credits.
Pins are not shown in the Infomap for dock flights.
- Edit the dock and ensure Create pins is enabled.
- Refresh the map or check the project filter.
I can’t delete a dock or drone.
- Verify whether Has flatrate or Has license is enabled.
- If yes, the device cannot be deleted by design.
- Set the device to Active = Off if it should no longer be used.
Related articles
- Device Management Overview: concepts, options, and behavior for devices.
- Adding & Managing Devices in SDX-Cloud: step-by-step instructions for adding, editing, deactivating, and deleting devices.
Comments
0 comments
Please sign in to leave a comment.